The Azure Cloud Shell
OK this one won’t be so much of a tutorial guide or how-to, and will more be me fawning over how under-rated the Azure Cloud Shell is and how it can be the swiss-army knife in your cloud toolbelt.
The official documentation
As per the official documentation, the cloud shell is ‘an interactive, authenticated, browser-accessible shell for managing Azure resources. It provides the flexibility of choosing the shell experience that best suits the way you work, either Bash or PowerShell.’ (Coincidentally, that page will also give you a pretty handy guide for setting your Cloud Shell up, so I don’t have to!)
Inline authentication
The Azure Cloud Shell will automatically authenticate to Azure Resource Manager using your logged-in account, unless you specifically throw another account at it. This is both handy for being able to ‘dive straight in’ and start firing off commands to control and manipulate your Azure environment (be careful here!) and is also much more rapid than downloading, installing and authenticating to the Azure CLI on your preferred Windows, Mac or Linux PC.
Tools, tools, tools
The indisputable most incredible part of the Azure Cloud Shell - the very reason for this post - is the sheer number of tools available from the get-go. You have Terraform, Ansible, Git, Python, Pip, MySQL client, Exchange Online (via Powershell) and a whole bunch more. It’s almost a skinny Linux machine running in Azure for you to use for a variety of cloud-related administrative tasks - with the advantage of massively reduced networking complexity opposed to a cloud-based or on-prem VM.
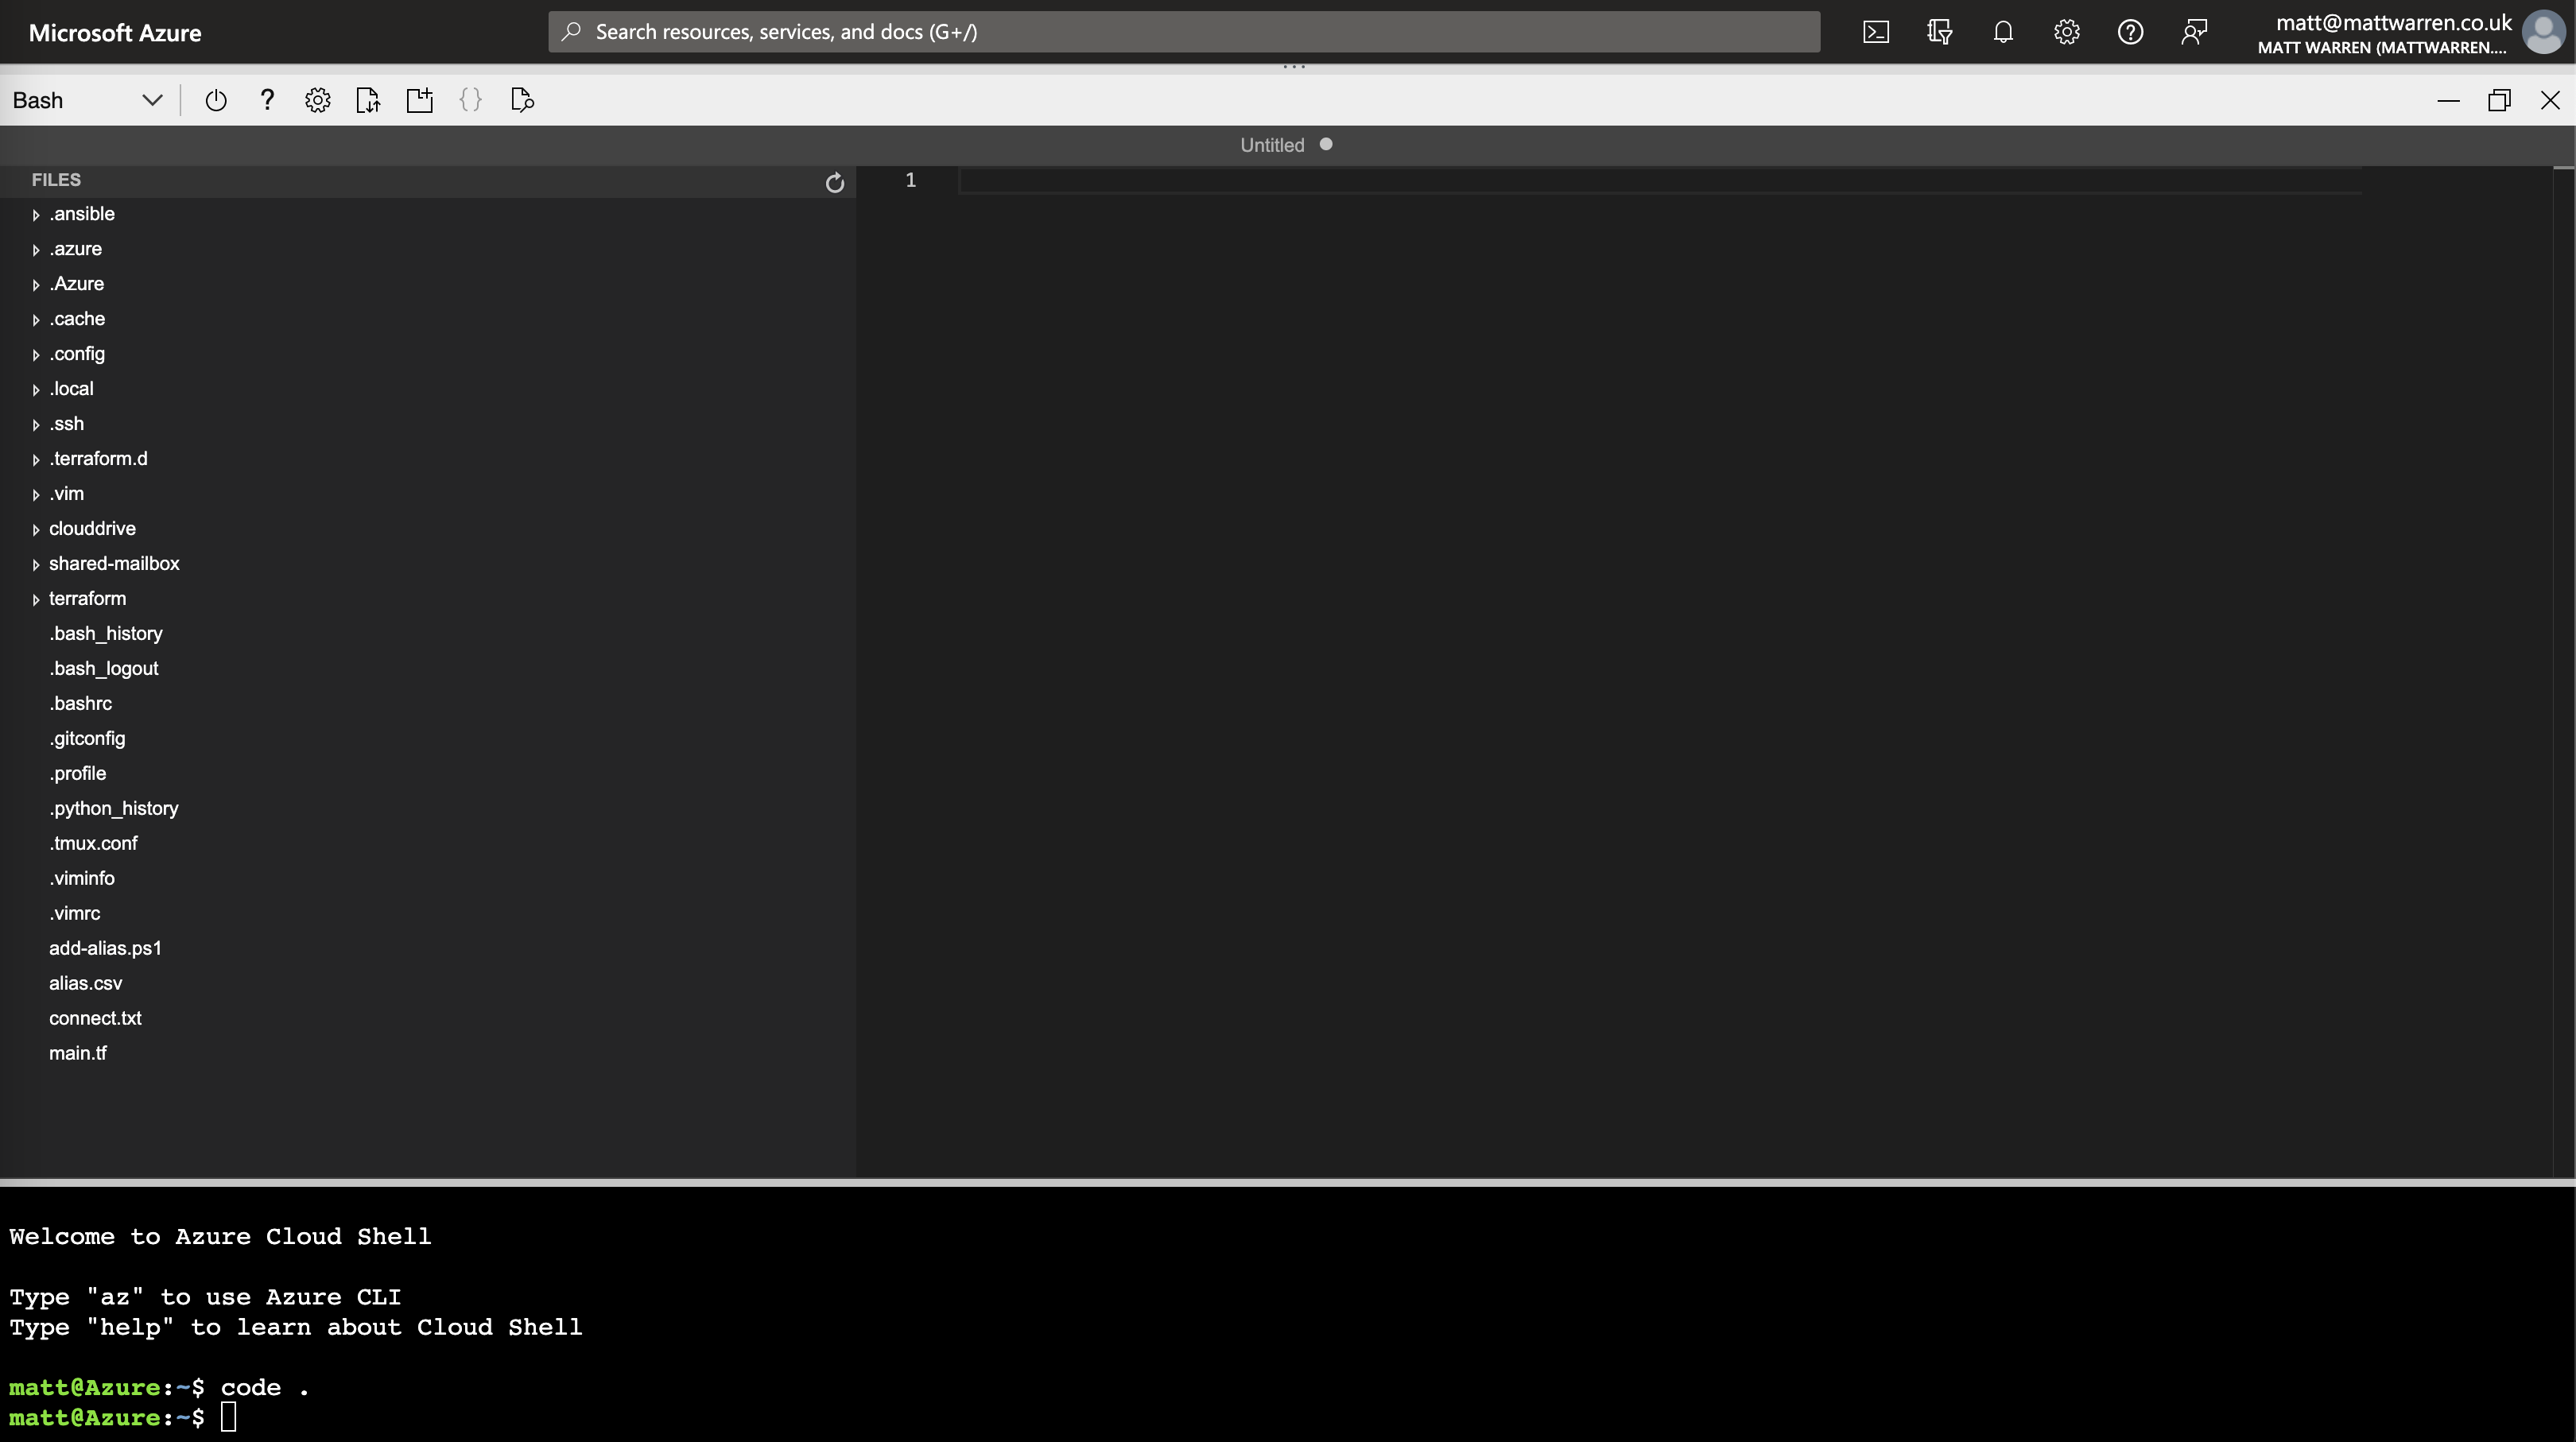
You even get a really slimmed-down inbuilt version of Visual Studio Code which can be launched by either clicking the ‘{}’ icon or typing code .
File storage
Even though the machine/ image that you connect to to interact with Azure Cloud Shell is ephemeral, the underlaying file storage is persistant (you will either create a storage account or connect to an existing one when you first use the Azure Cloud Shell). This can be interacted with in the exact same way as any other Azure Storage Account, either directly via the browser or via Azure Storage Explorer. This makes getting files to and from the Azure Cloud Shell a total doddle. It also means you are in complete control of your spending - as the only cost directly-associated to the Azure Cloud Shell is storage, you can either persist your files through all sessions for pennies a month, or simply remove the storage account every time you end your Azure Cloud Shell session. Whether you do this manually or via automated means (or offload the files to local storage on exit and re-inject them on next connection) is entirely up to you.
How it works
The Azure Cloud Shell runs as a container instance in Azure. The image is based on CBL-mariner, which is a Microsoft-developed linux distro for Microsoft Cloud infrastructure. The Azure Cloud Shell project is open source on github. You can run the Azure Cloud Shell locally through docker if you so wish, though it’s not without its caveats.
docker pull mcr.microsoft.com/azure-cloudshell:latest
docker run -it mcr.microsoft.com/azure-cloudshell /bin/bash
You will need to manually connect to your Azure account using az login, you won’t have Azure File Storage automatically mounted, and you will be running as root rather than as a regular user. It’s up to you to determine whether this is worth the extra time and effort, and whether running in the Cloud or locally is more conducive with your security and risk appetite.
Limitations
No docker!
The Azure Cloud Shell is a container, so it does not have the docker daemon running - no containers for you! You can get clever about this drawback and utilise Azure Container Instances and an Azure Container Registry (or other private or public registry) if you’re so determined - or maybe this is one area where running docker on your full-fat existing machine is probably the best option!